Description
IoT Based Led Notice Board Using Arduino
Creating an IoT-Based LED Notice Board Using Arduino is a fascinating project that brings together the power of IoT (Internet of Things) and digital display technology. This project uses a P10 red LED module, a Wi-Fi module, and an Arduino Uno R3 microcontroller to display dynamic, moving messages that can be updated in real-time from any device connected to the internet. This setup is perfect for schools, offices, shops, and public places where displaying up-to-date messages is essential.
Overview of the IoT-Based LED Notice Board
This IoT-based notice board allows users to send messages directly from their smartphone, computer, or any other Wi-Fi-enabled device, which then appear on the LED display. The P10 LED module offers a bright, high-contrast display that makes messages readable even from a distance. Additionally, the moving message feature captures attention, making this system ideal for displaying important announcements, alerts, or promotional content.
Key Components of the Project
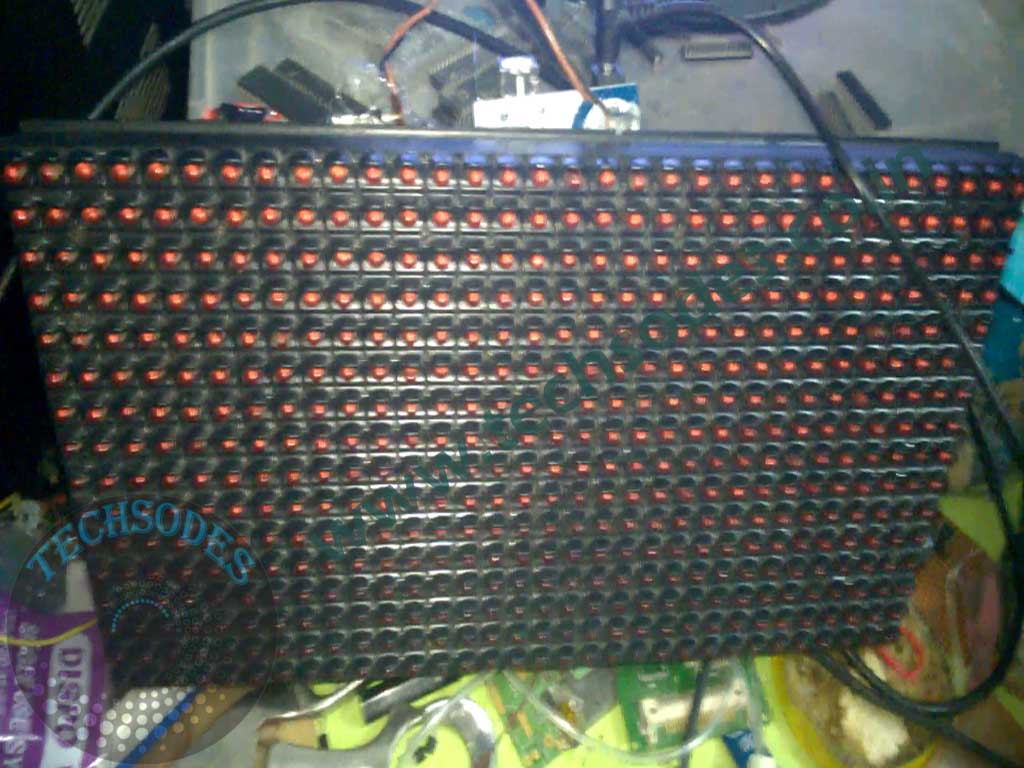
- P10 Red LED Module: The P10 module is a 32×16 pixel LED display that is popular for projects that require bright, noticeable text displays. It is modular, meaning multiple P10 modules can be connected to create larger displays. This module uses a simple interface to display text, images, or animations, making it suitable for scrolling or static text displays.
- Arduino Uno R3: The Arduino Uno R3 serves as the brain of the system, controlling what the P10 module displays based on the received messages. The Uno is a versatile and widely-used microcontroller known for its ease of programming and adaptability in IoT applications. Using the Arduino IDE, you can quickly write code to handle message reception and control the display.
- Wi-Fi Module (ESP8266/ESP01): The Wi-Fi module connects the Arduino to the internet, allowing the notice board to receive messages from remote devices. The ESP8266 or ESP01 is ideal for this project due to its compatibility with the Arduino Uno and reliable connectivity options.
How It Works
The system is designed to receive and display messages in real time through Wi-Fi connectivity. Here’s a breakdown of how the project functions:
Message Input: Using a web interface, users can input any text message they want to display on the board. The web interface connects to the Wi-Fi module, sending the message over the internet to the Arduino board.
Message Processing: The Arduino Uno receives the message through the Wi-Fi module, processes it, and sends the data to the P10 LED module. Programming on the Arduino ensures that the text appears in a moving or scrolling format, making it eye-catching and easy to read.
Displaying the Message: The message is then displayed on the P10 LED module. Since the module supports dynamic text, the message can scroll across the screen. The bright red LEDs ensure visibility even in bright ambient conditions.
Steps to Build the IoT-Based LED Notice Board
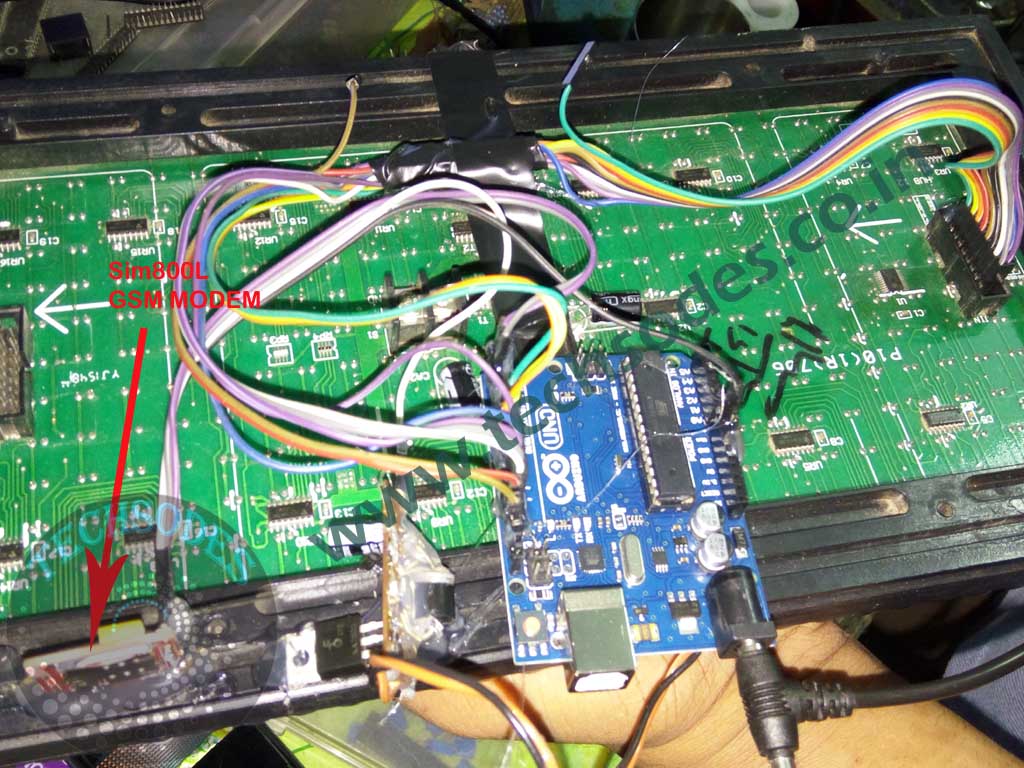
- Hardware Setup: Connect the P10 LED Module to Arduino Uno: Use jumper wires to connect the P10 module to the Arduino pins as per the display library requirements.
Attach the Wi-Fi Module: Connect the ESP8266 or ESP01 to the Arduino. This module allows wireless communication, letting the Arduino receive messages over Wi-Fi. - Programming the Arduino: To manage this project, you’ll need to program the Arduino with the right libraries for the P10 module and Wi-Fi. Using the PxMatrix library, you can easily control the P10 LED module, while the ESP8266WiFi library allows you to configure the Wi-Fi module and connect it to a network. The program on the Arduino listens for incoming messages and processes them into a format suitable for the P10 display.
- Creating a Web Interface: A simple web interface or smartphone app allows you to send messages directly to the notice board. This interface can be as basic as a webpage hosted on a local server or as advanced as a dedicated mobile app that sends HTTP requests to the Wi-Fi module.
- Connecting to Wi-Fi: When powered on, the Wi-Fi module connects to the configured Wi-Fi network, creating a bridge between the Arduino and the internet. Once connected, it continuously checks for incoming messages and passes them to the Arduino for display on the P10 module.
Advantages of This IoT-Based LED Notice Board
Remote Message Update: Unlike traditional notice boards that need physical interaction for updates, this IoT-based system allows instant updates from any location via the internet.
Customizable and Interactive: The web-based or app-based control allows for customization of messages on the fly, ideal for changing announcements, event reminders, or even advertisements.
Scalability: This system is highly scalable. You can add multiple P10 modules to create larger displays or configure multiple boards to work in sync, showing the same or different messages across different locations.
Practical Applications
This IoT-based LED notice board can be used in various environments:
Educational Institutes: Schools and colleges can use this system to broadcast announcements, schedule updates, and reminders for students and faculty.
Public Spaces: At bus stations, airports, and shopping malls, these boards can provide real-time information and advertisements.
Offices and Factories: Use the notice board to share important updates, alerts, or production targets with employees.
Challenges and Solutions
Internet Connectivity: If the Wi-Fi signal is weak, the notice board may experience delays in message updates. Using a Wi-Fi repeater can help extend the range and ensure smooth operation.
Power Consumption: The P10 LED module consumes significant power, especially when displaying large, bright text. Ensuring a stable power supply will help avoid flickering and maintain brightness.
Message Overload: Too many incoming messages might overwhelm the system. Setting a limit on message length and frequency helps to manage the load and keeps the system responsive.
Conclusion
This IoT-based LED Notice Board using Arduino, a P10 LED module, and a Wi-Fi module offers an innovative and interactive solution for real-time messaging. By using affordable components and a straightforward design, this project is perfect for students looking to dive into the world of IoT and display technology. It’s an exciting way to learn about wireless communication, digital displays, and real-time systems—all while creating a practical, usable notice board.





Reviews
There are no reviews yet.